How to Make Strawberry Moonshine
 Strawberry Moonshine Recipe
Strawberries are one of the earliest fruits to ripen during the summer growing season. They’re available early June in most areas. Strawberries are used for all kinds of delicious summer treats; they can be eaten raw, used in dessert dishes such as strawberry shortcake, and are one of the most popular fruits for making jam. However, did you know that they can also be fermented and turned into Brandy? That’s right, strawberries make an excellent base sugar for moonshine.
In this article we’re going to show you how to make strawberry moonshine. It’s easier than you might think. Pay attention to the details, because if you get it wrong you could have a huge mess on your hands. However, if you follow the instructions and you’ll end up with a hell of a batch of strawberry brandy. Enjoy!
Details
Prep Time: 1 hour
Cook Time: 3 hours
Batch Size: 5 gallons of mash, 4.5 gallons of wash
Yield: 1 gallon of 100 proof spirit (1 quart of 100 proof hearts)
Taste: Delicious
Equipment Needed
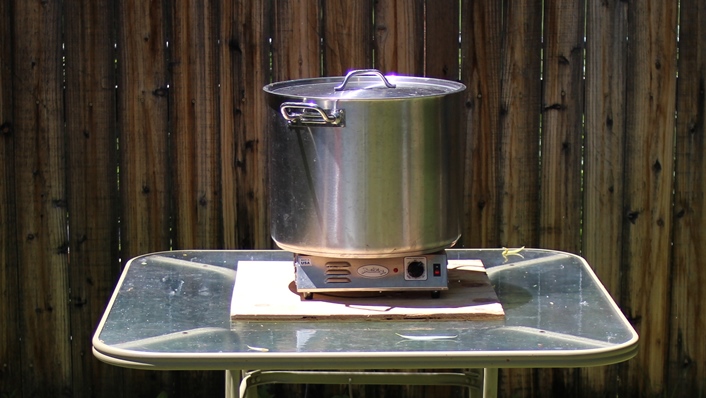
- Hotplate
- Large stock pot
- Large spoon or paddle
- Blender
- 2 food safe fermentation buckets
- 1 airlocks
- Cutting Board and knife
- Wire mesh strainer
- Brix refractometer
- Funnel
- Large auto-siphon (minimum 1/2″ tube)
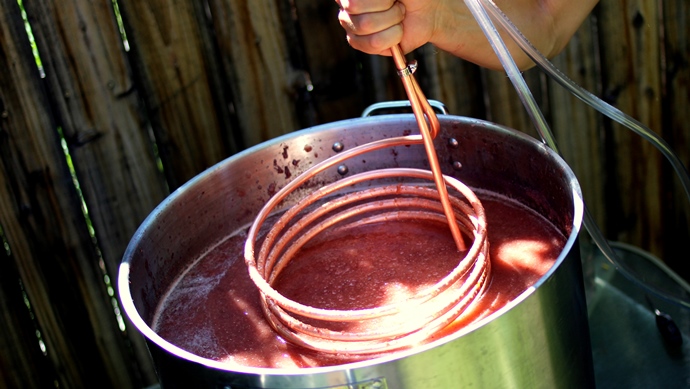
- Copper immersion chiller
- Thermometer
Ingredients
- 20 lbs stawberries
- 1.5 lbs raisins
- 1-3 lbs cane sugar sugar
- 2 packets bread yeast
Procedure
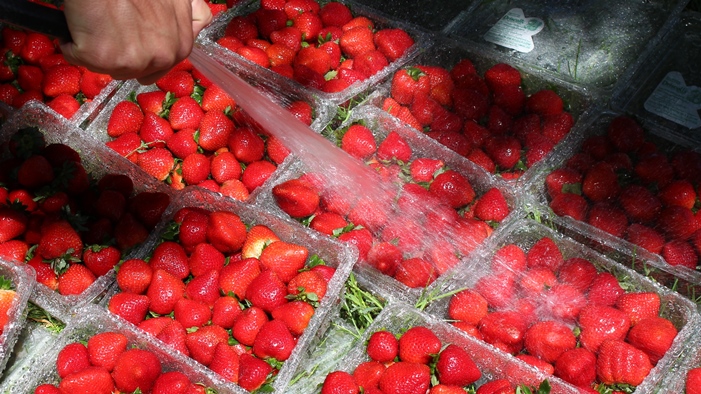
- Step 1: Rinse the strawberries thoroughly with a hose, using high pressure spray. This greatly reduces the amount of wild yeast and bacteria found on the surface of the fruit.
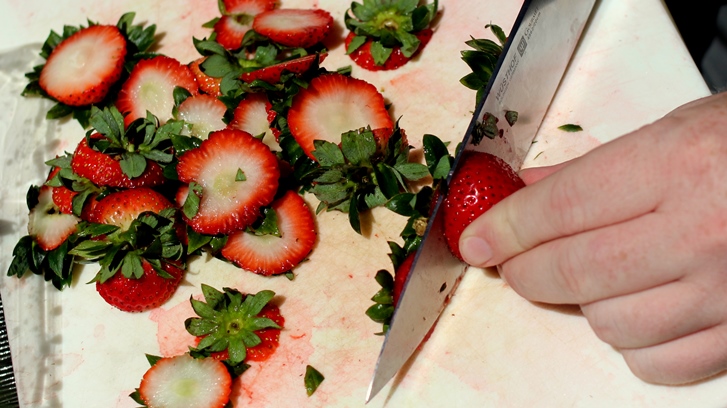
- Step 2: Cut the tops off of the strawberries and discard. You don’t want any of the green leaves in your mash because it could cause bitterness.
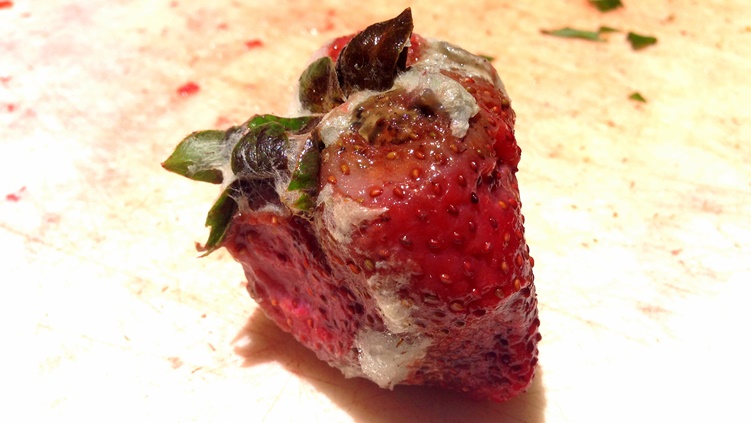
- Step 3: Make sure to discard any rotten strawberries because the bacteria and mold on rotten berries could contaminate the mash.
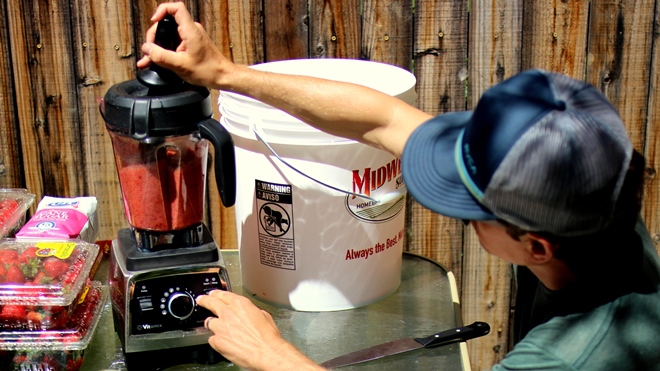
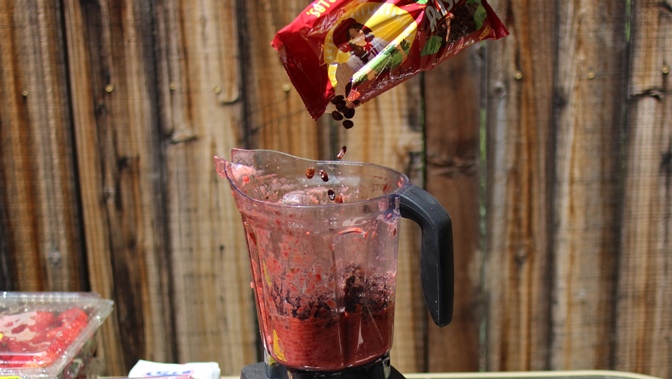
- Step 4: Transfer only good strawberries (free from rot and mold), without the tops, into a blender.
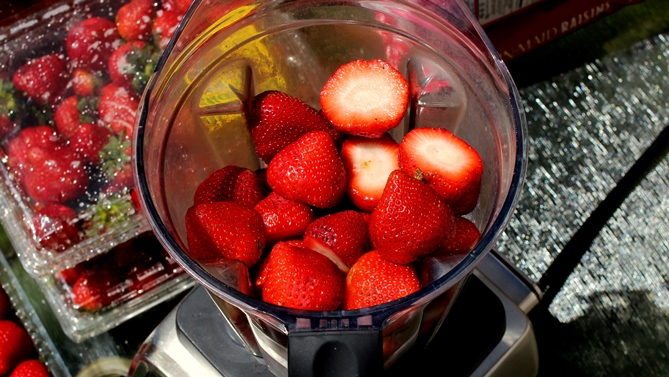
- Step 5: Create a strawberry puree by lightly blending the berries. Do not over-blend. The pulp will be separated after fermentation. If the liquid is too thin, pulp will be difficult to separate.
- Step 6: Add raisins to the strawberries as you blend them until all 1.5 pounds of raisins have been incorporated into the batch.
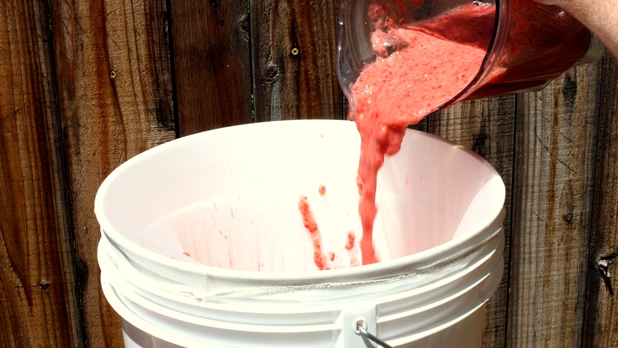
- Step 7: Collect strawberry puree into a sanitized bucket, preferably a bucket with a scale on the side which indicates the number of gallons of liquid in the container.
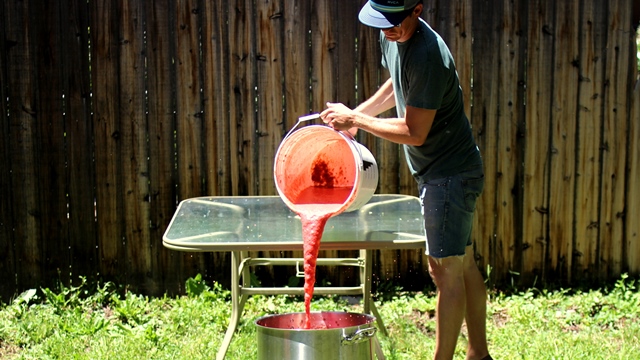
- Step 8: Once 2.5 gallons of strawberry puree has been collected, transfer puree to a stainless steel boil kettle.
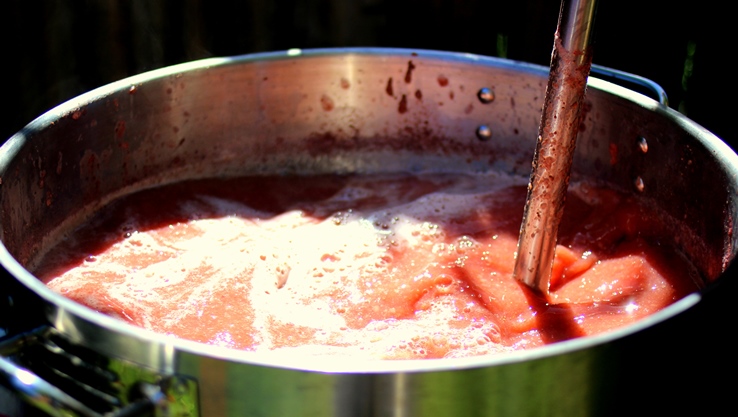
- Step 9: Add 3 gallons of water to the 2.5 gallons strawberry puree. You should have 5.5 total gallons of strawberry mash at this point.
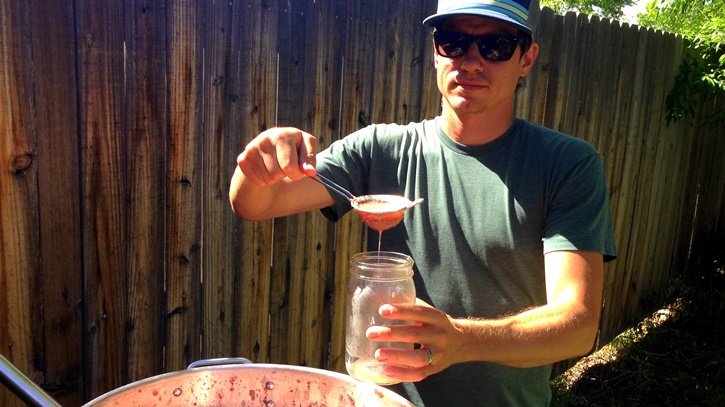
- Step 10: Strawberry brandy mash is much too thick to use a specific gravity hydrometer for determining potential alcohol. It could be done, but using a brix refractometer will be much easier (If you don’t have one, you should get one!). To take a brix reading, first use a small strainer to scoop some juice out of the boil kettle. Let the strained juice drip into a mason jar.
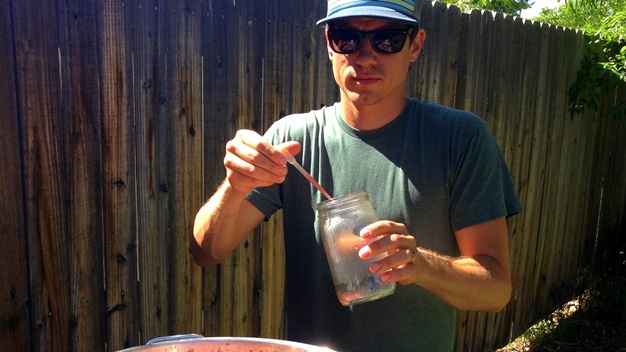
- Step 11: Using a small pipette (usually supplied with a brix refractometer) take a small sample of strained strawberry juice from the mason jar.
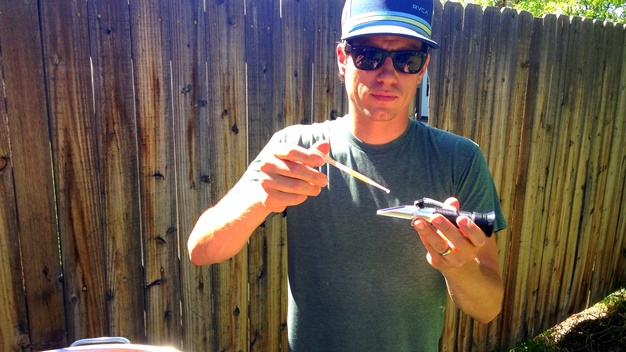
- Step 12: Put a small drop of strawberry juice on the glass plate of the brix refractometer.
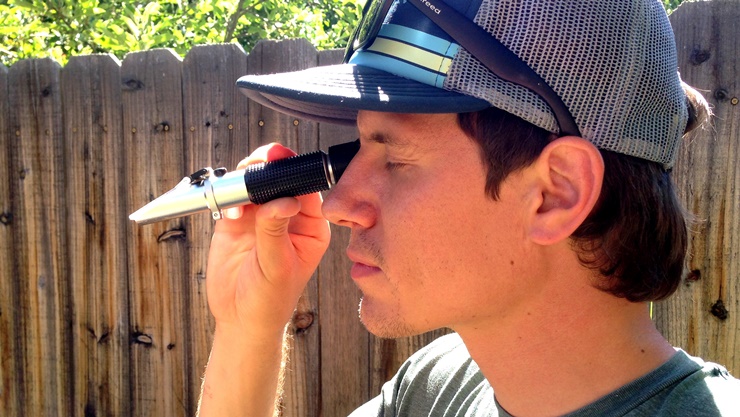
- Step 13: View the brix reading by looking into the sight.
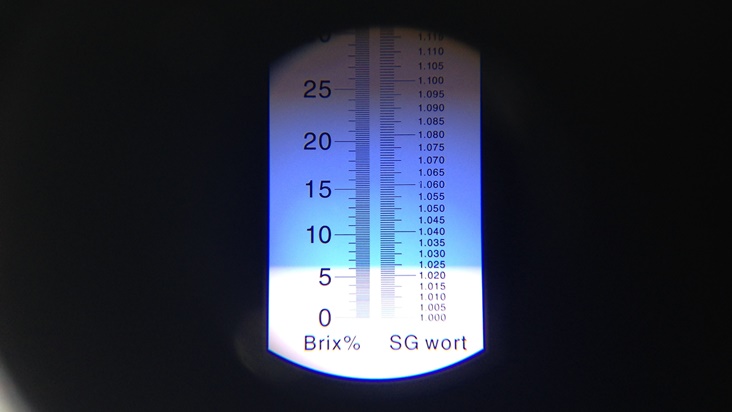
- Step 14: The ideal starting alcohol for strawberry brandy is about 8%. Shooting for a starting alcohol higher than this may cause off flavors to show up in the wash and final product due to stressed yeast. Our original brix was 6 (which is different than potential / starting alcohol) with an estimated specific gravity of 1.024. Ideally, the brix will be somewhere in the neighborhood of 15, which corresponds to a specific gravity reading of 1.055 and a starting alcohol of 8%. Since ours is low (because our strawberries aren’t very sweet) we’ll need to add some cane sugar.
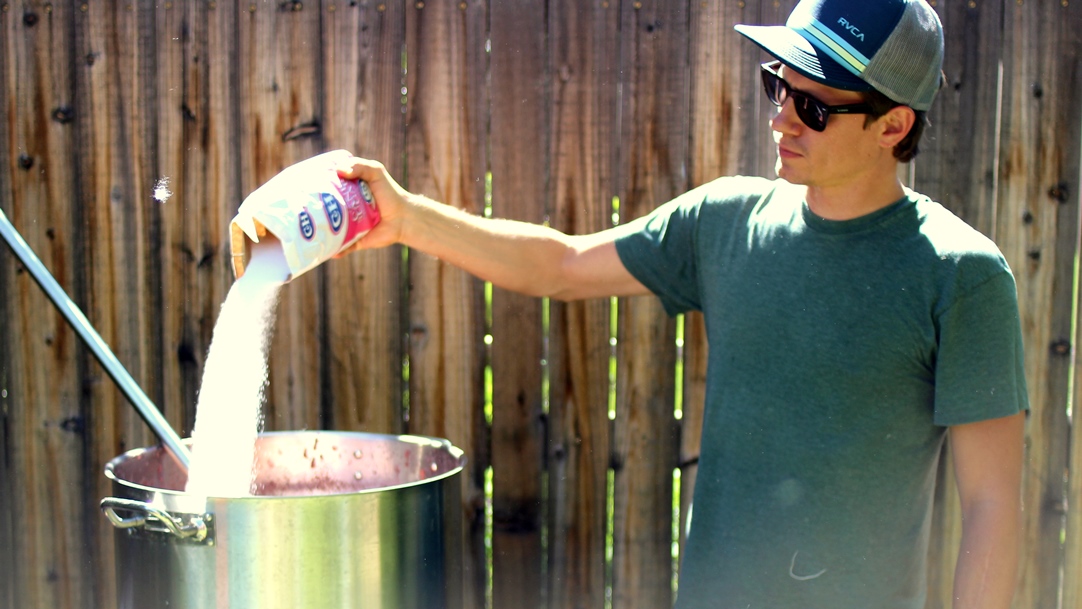
- Step 15: If your brix / specific gravity is low (less than 15brix / 1.061 S.G.) add sugar. We had to add approximately 4 pounds to this recipe to increase the brix.
- Step 16: If you need to add sugar to boost brix, make sure to stir the mash until all of the sugar has dissolved before taking another reading.
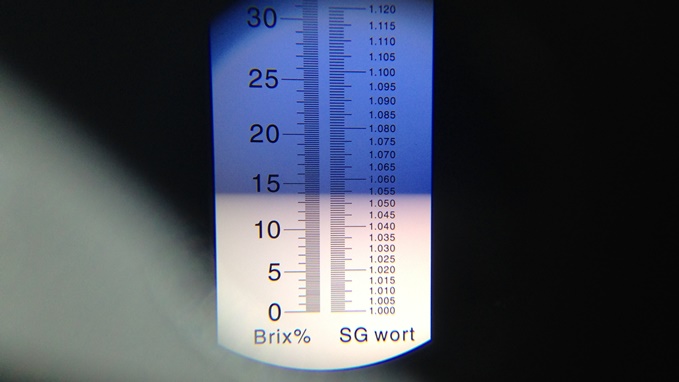
- Step 17: Take another brix reading to verify that your target has been reached. Our final brix was 14, which corresponds to a specific gravity of 1.055. If our mash ferments all the way back down to 1.00, the wash will be approximately 7% alcohol. If the average proof of the spirit we collect during distillation is 100, then we’ll end up with a total of about 1/2 gallons of distilled alcohol. Of course, it won’t all be hearts. However, since we were careful to keep the starting alcohol low, semi-pasteurized the mash by heating it to 160F (explained later), and will also be careful to keep the fermentation temperature steady, we should end up with fairly a large hearts cut.
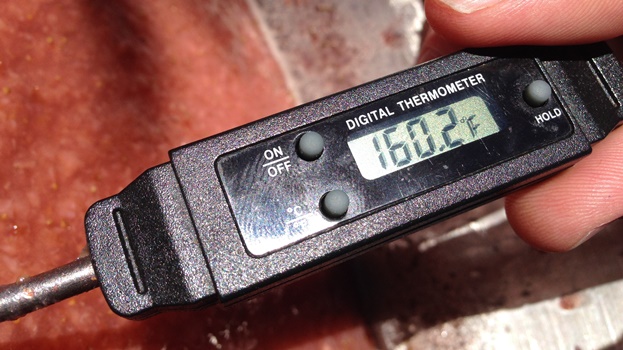
- Step 18: Once the target brix has been reached, cover the boil kettle and heat to 160 degrees. This will kill most of the naturally occuring yeast and bacteria. If you skip this step you risk bacterial contamination of the mash and off flavors in the wash.
- Step 19: Heat the mash to approximately 160 degrees Fahrenheit.
- Step 20: After the target temperature of 160F has been reached, cool the mash down to 70 degrees using an immersion chiller.
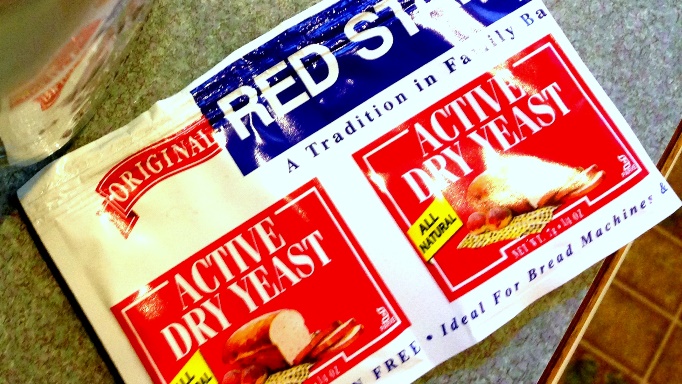
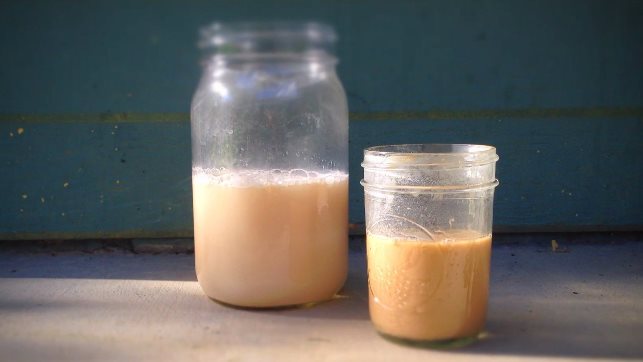
- Step 21: While the mash is cooling, make a yeast starter using 2 packages of dry active yeast. Brewers yeast works as well. Ale yeasts are best. Distillers yeast, turbo yeast, and champagne yeast all tend to strip much of the flavor from the mash and we chose not to use it for this recipe, which we want to be full-bodied and flavorful.
- Step 22: Make a yeast starter by following the directions on the back of the yeast package.
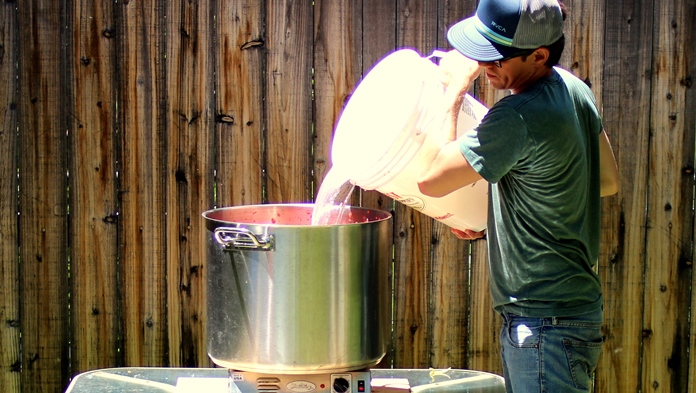
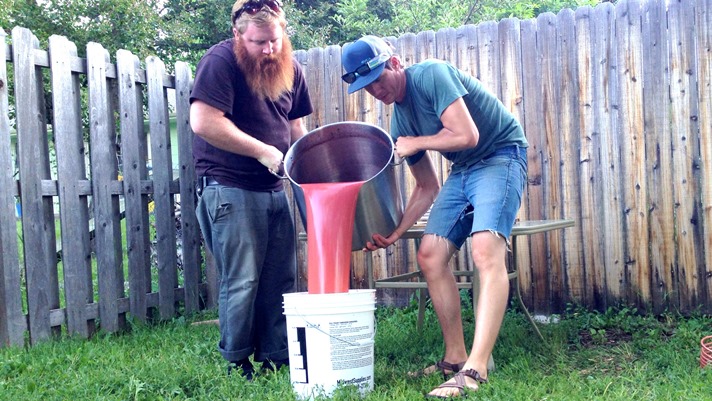
- Step 23: Once the mash has cooled down to 70 degrees F, transfer it into a sterilized, food safe plastic fermentation bucket or a glass carboy.
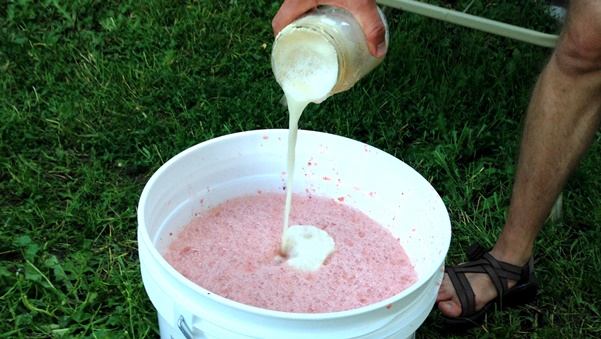
- Step 24: After the mash has been transferred to the fermentation vessel, add the yeast starter.
- Step 25: Cover the fermentation bucket with an air tight lid. Add an air lock. Store in a cool location (approximately 70 degrees) and allow to ferment for a week.
- Step 26: Siphon (You’ll need to use 1/2″ hose for this) the wash through a strainer (a fine cheesecloth, or a nylon paint strainer). Separate the pulp an discard it. Only add strained juice to the still. You’ll end up with about 4.5 gallons. Make sure not to add any of the settled yeast from the bottom of the fermenter to the still. 100% copper still.
- Step 27: Complete a “stripping run” by distilling the wash in a copper still using medium high heat. Distillate should be pouring out of drip tube. Do not make any cuts during the stripping run.
- Step 28: Next, complete a “spirit run” by distilling the product from the stripping run. Use medium low heat and run the distiller very slow (product should be dripping out of the still, not pouring). To be safe, make at least a 200 ml foreshots cut, and healthy heads and tails cuts, saving only the best part of the middle of the run for the hearts.
- Step 29: Discard the heads, along with the foreshots. Keep the hearts for the next step. Set the tails aside to use in future feints runs.
- Step 30: Pack pint jars with fresh sliced strawberries and fill them the rest of the way with the hearts from the spirit run.
- Step 31: Share with friends and enjoy!


